
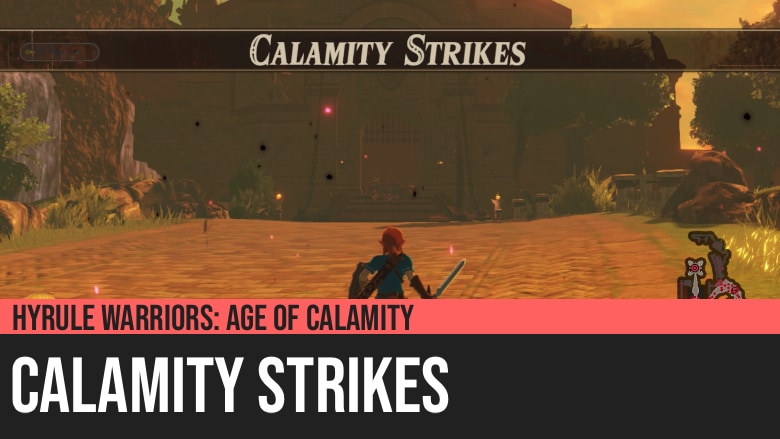
Hyrule Warriors: Age of Calamity - Calamity Strikes
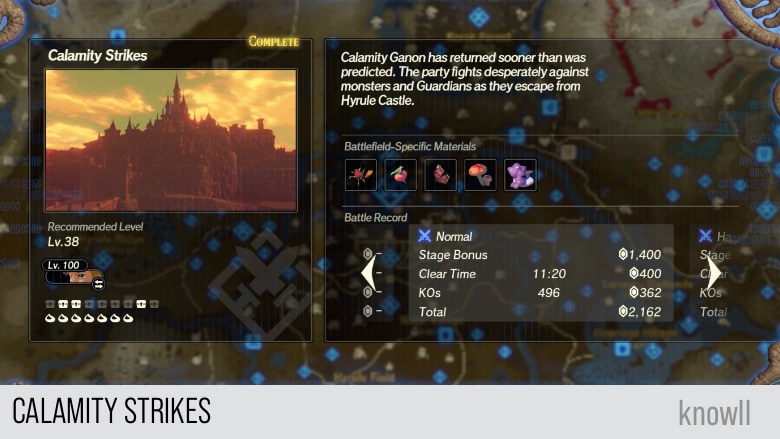
Hyrule Warriors: Age of Calamity - Calamity Strikes is the first part of Chapter 5 of the game. Calamity Ganon has returned sooner than was predicted. The party fights desperately against monsters and Guardians as they escape from Hyrule Castle.
This Chapter entry introduces the first real challenge of facing Guardians, as they will be present almost everywhere in this quest, sometimes fighting your hero simultaneously. You will also observe the presence of upgraded monsters, like Silver Moblins, Silver Lizalfos, Silver Bokoblins, and even a White-Maned Lynel, the first in the game.
Treasure Chests and Koroks
- 7 Koroks
- 9 Treasure Chests
Battlefield-Specific Materials
- Ironshell Crab
- Hearty Radish
- Summerwing Butterfly
- Hylian Shroom
- Rushroom
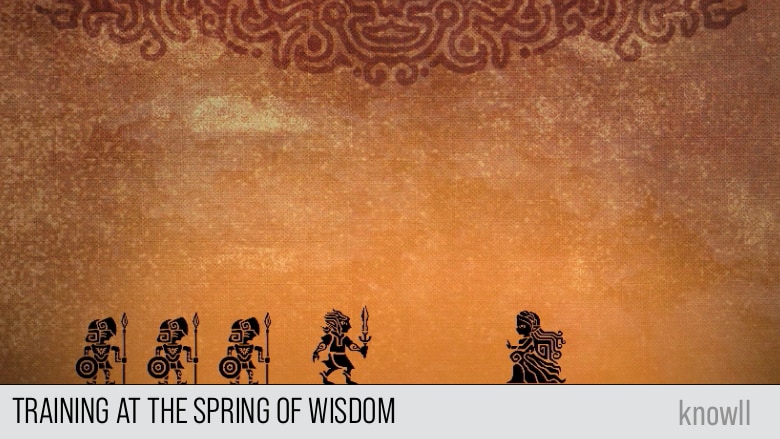
Training at the Spring of Wisdom
All of the countermeasures to Calamity Ganon were in place - except one. The princess had not yet awakened her sealing power. In hopes of preventing her kingdom's destruction, Zelda resolved to train at the Spring of Wisdom.
Souls younger than 17 years were forbidden from setting foot on Mount Lanayru, where the Spring of Wisdom lay, as they lacked the spring's namesake. Zelda made plans to ascend as soon as she was of age.
Knowing that this would be the day of Calamity Ganon's revival, King Rhoam urged his people to evacuate. He deployed the four Divine Beasts to quell the horrors of the Calamity until Zelda returned...
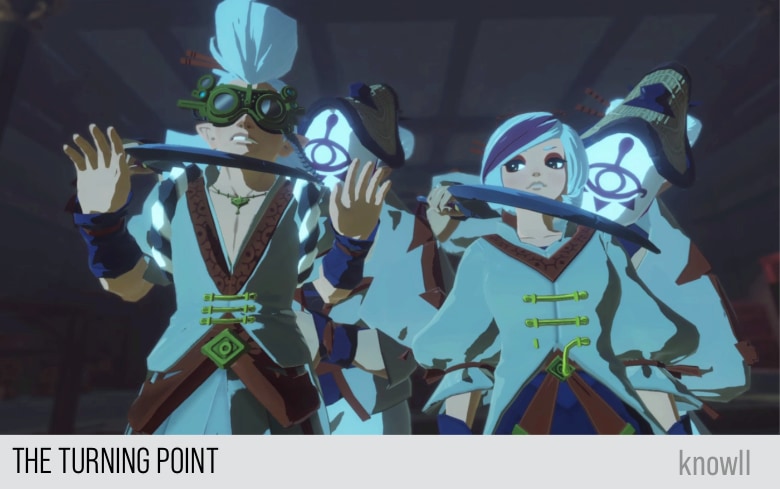
The Turning Point
The Royal Ancient Lab completes its analysis of the little Guardian, but Robbie and Purah are abruptly attacked by Yiga Clan infiltrators. Purah entrusts the Sheikah Slate to the little Guardian, who flees the lab in search of Zelda.
Robbie: Excellent, I've finally finished my painstaking analysis. Oh yeaaah!
Purah: Yeah, yeah, we're all very impressed. Now, what did you find?
Robbie: Uhh...
Purah: Do you see...
Yiga Soldier: Stop right there.
Robbie: I was too careless. This is bad.
Purah throws the Sheikah Slate towards the little Guardian.
Purah: Go!
Yiga Soldier: Stop that thing!
The little Guardian escapes.
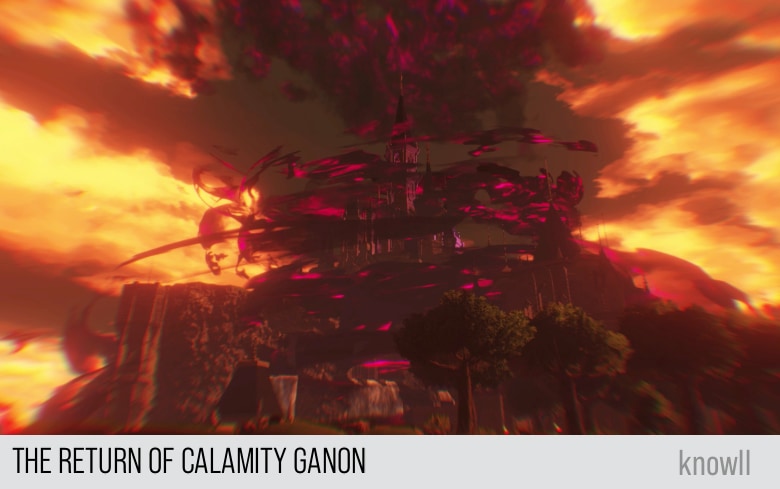
Calamity Strikes
Accompanied by Link and Impa, Zelda sets out for the Spring of Wisdom on Mount Lanayru to train. She steels herself, knowing that this is her last chance to awaken her powers. At the moment Zelda crosses the bridge, Calamity Ganon suddenly revives and descends on the castle.

Zelda: So many are awaiting my inner power - believing in me. This is my last chance.
Impa: Princess, it'll all work out. Everything will just... align at the Spring of Wisdom.
Zelda: Time to head out. Farewell, Father...
They see the little Guardian scurrying towards them.
Zelda: Huh?
Zelda: H-hey!
Impa: The Sheikah Slate?
Zelda: Something must have happened.
Zelda: It cannot be!
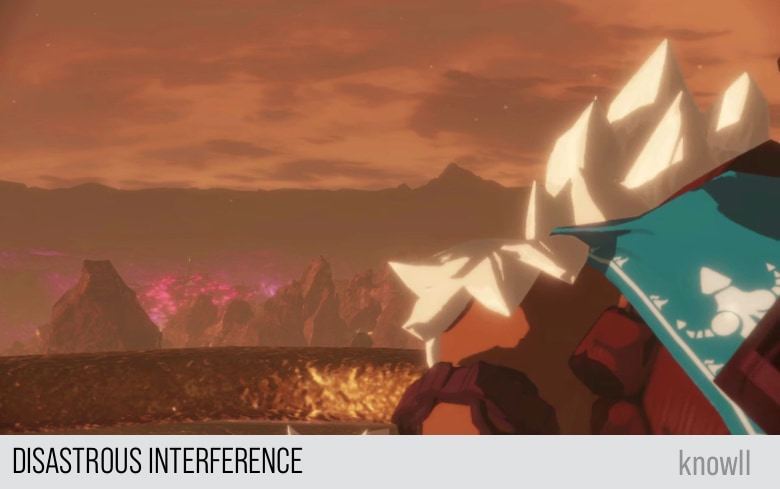
Disastrous Interference
On the way to their Divine Beasts, each of the Champions witnesses the sudden revival of Calamity Ganon. Matters are made worse as the Sheikah Towers simultaneously shut down due to Calamity Ganon's influence.
Daruk: All righty. A good spot for Rudania would be...
Daruk: Huh?
Daruk: No... I can't believe it!
The other Champions observed it as well on their own Sheikah Towers.
Mipha: The Calamity is here?
Urbosa: Well then, we seem to have been taken by surprise.
Revali: This is bad. Extremely bad. If the Calamity was able to overtake Hyrule Castle -
The Sheikah Towers start to disable and go down.
Zelda: No... The Calamity. It's already begun.
Zelda: Father will still be within the sanctum. Quickly! There's not a moment to lose!
Impa: Princess! It's too dangerous! Oh, fine... Link! Back her up!
Objective: Rescue King Rhoam
You will notice immediately that the monsters have upgraded. You will be facing their stronger versions, starting with the Black Moblins.
Head toward the Sanctum to rescue King Rhoam!

In addition to the stronger monsters, you will start to face a lot of Guardians in this quest.
Zelda: Calamity Ganon has taken control of the Guardians?!
Fighting Guardians
We have shared the basics of fighting Guardians in the entry Road to the Ancient Lab. As they will start appearing in large numbers from here onwards, we are covering their moveset in more detail.
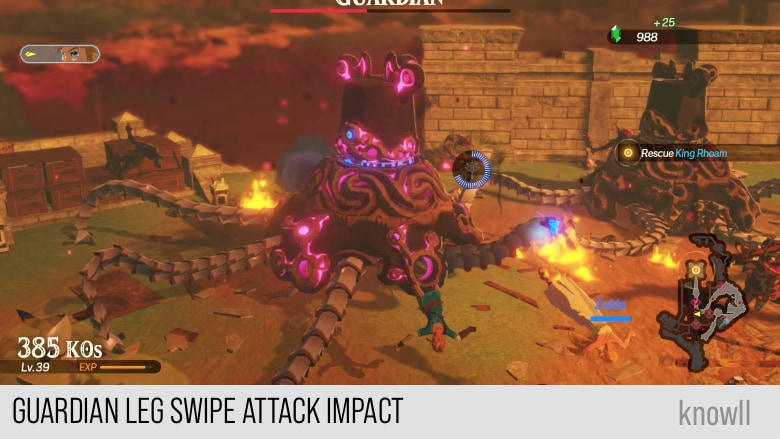
Leg Swipe Attack
This is one of the basic Guardian attacks. It moves one of its legs and then swipes you with it.
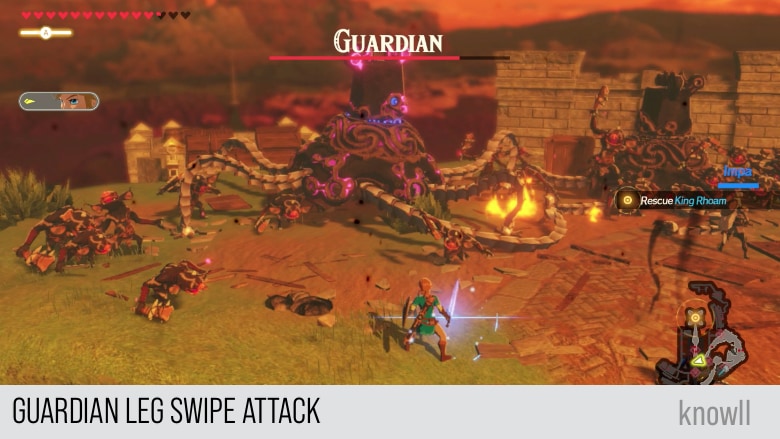
This will stop your attacks and throw your character.
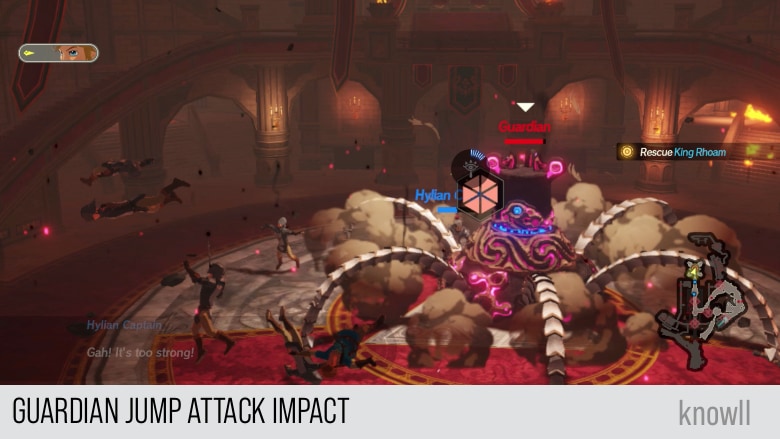
Jump Attack
The Jump Attack has a large telegraph. You will notice the Guardian raising itself before the attack actually happens.
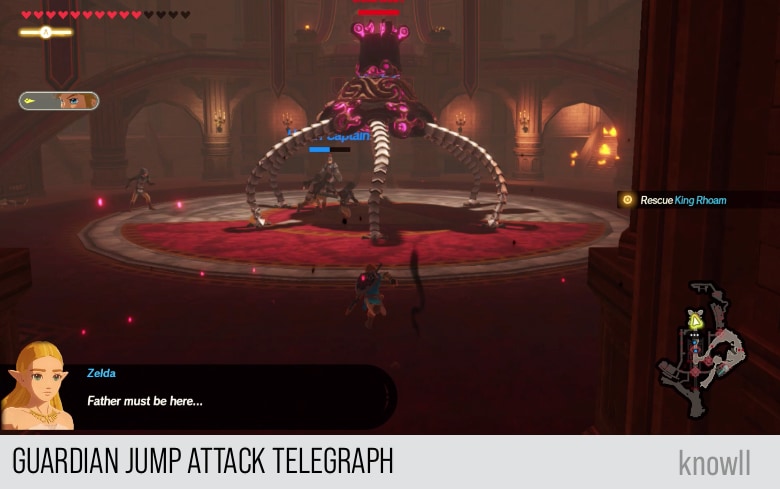
Once it is up, the Guardian will drop on you, causing damage and throwing your character.
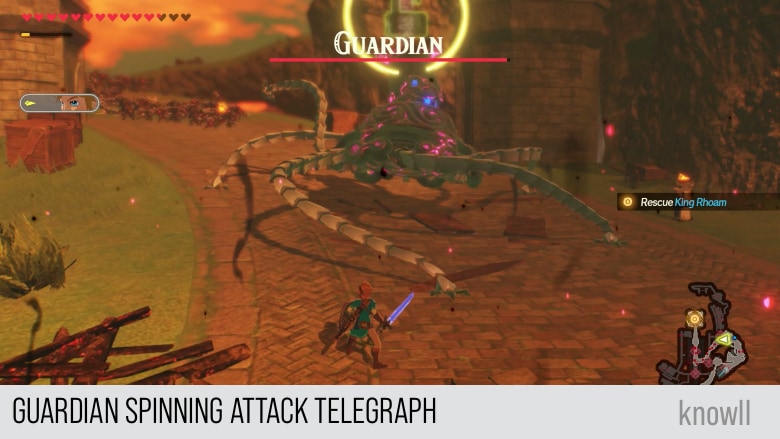
Spinning Attack
This is one of the powerful Guardian attacks. Like other powerful attacks, it has a telegraph. It will position its legs menacingly as shown below. If you are going to counter, this is the best time. Counter it with a Statis.
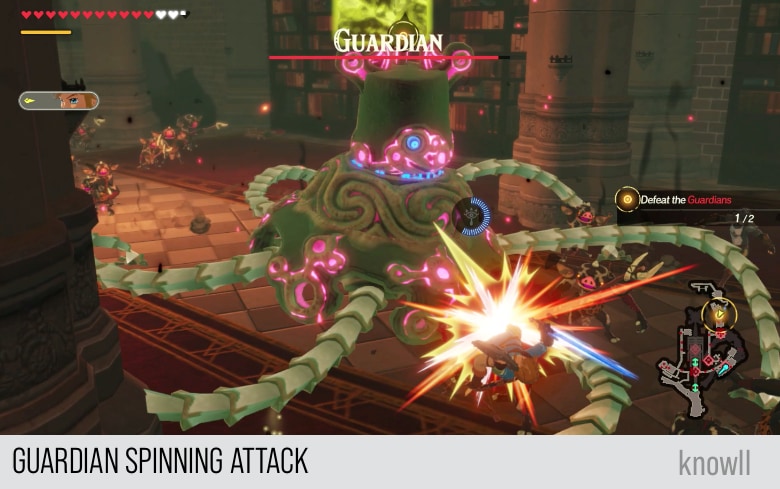
If you fail to counter, dodge, or block, the Guardian will execute the attack and repeatedly hit you with its legs while spinning. This can easily remove more than two hearts from your life bar.
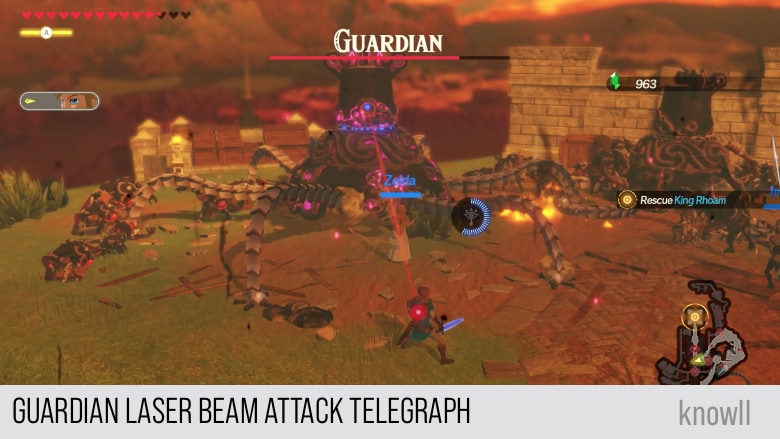
Laser Beam Attack
This is the most famous of all Guardian attacks and one of the most powerful in BOTW. It starts with a laser beam pointed at your character.
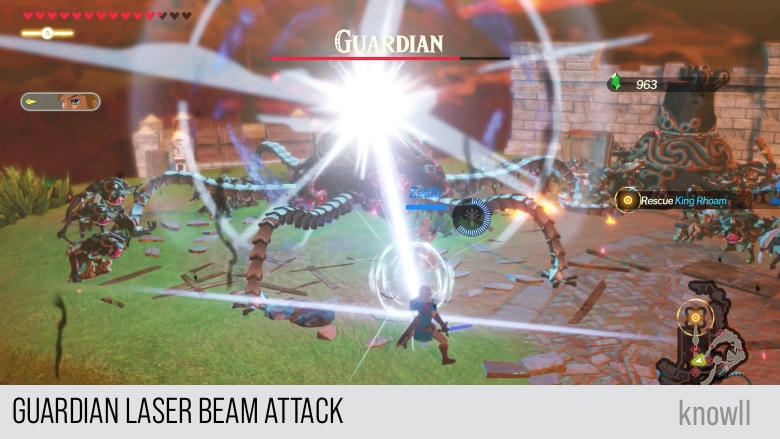
After that will be the actual attack, a large powerful beam that will bring huge damage to your character.
With the Age of Calamity, you can reliably block this attack. However, for every attack, your guard will be broken. In other words, if there is another attack that comes immediately, you will receive its full damage.
You will face two Guardians before reaching the entrance to the castle. Once there, there will be another Guardian.
Zelda: Father must be here...
Hylian Captain: Gah! It's too strong!
Impa: The Guardians have targeted our allies! We must help them!
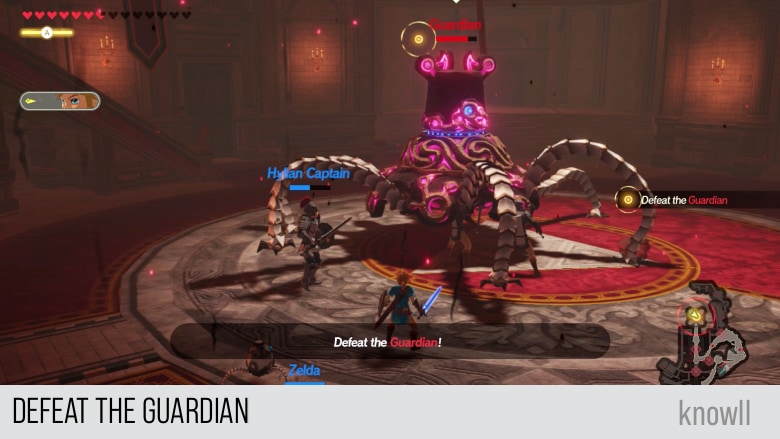
Objective: Defeat the Guardian
Using our tips shared above, defeat the Guardian at the entrance.
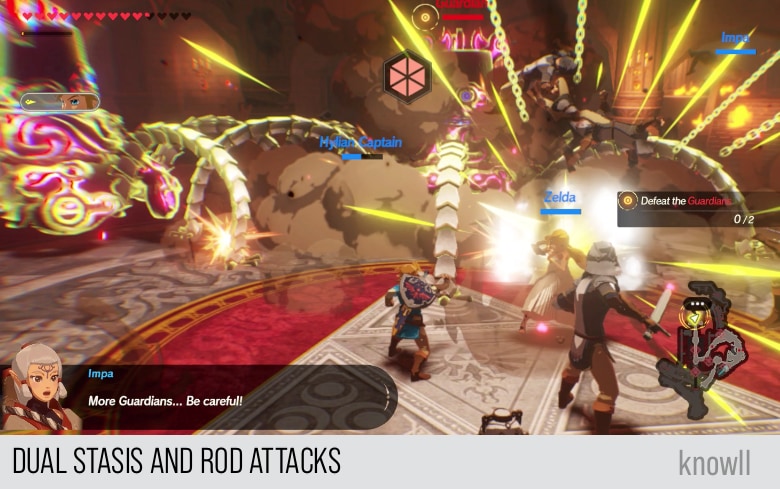
After defeating the first, two more will drop from the ceiling.
Impa: More Guardians... Be careful!
As the space is too small and the two Guardians are next to each other, you might be able to do attacks on both of them. You might be able to Stasis both of them at the same time or affect them both with your Elemental Rod attacks.
After defeating both of the Guardians, it's time to look for the exit.
Zelda: We defeated them, somehow. Now then, do you know my father's whereabouts?
Hylian Captain: The king fled through the back entrance. We were cut off from the others amid the chaos.
Zelda: Let's exit out the back as well, then. I'm so relieved Father is all right...
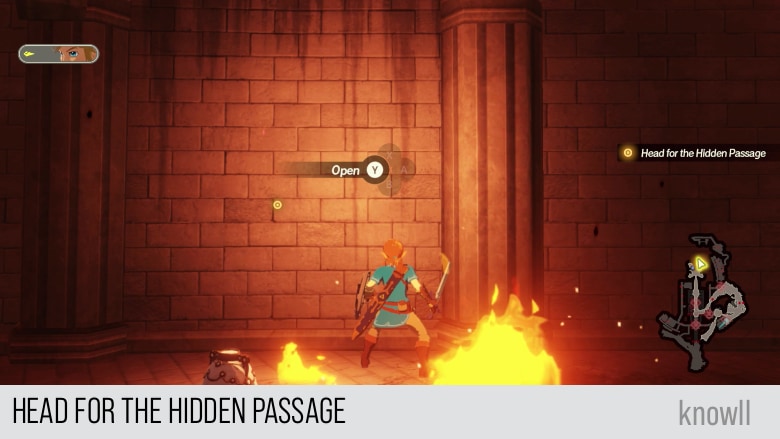
Objective: Head for the Hidden Passage
The hidden passage is very easy to find. Just look for the icon on one of the walls, as shown below.
After entering the hidden passage, it will bring your party to the docks. This is the same dock that you explored in BOTW.
Impa: With monsters and Guardians inside the castle, there's no time to waste.
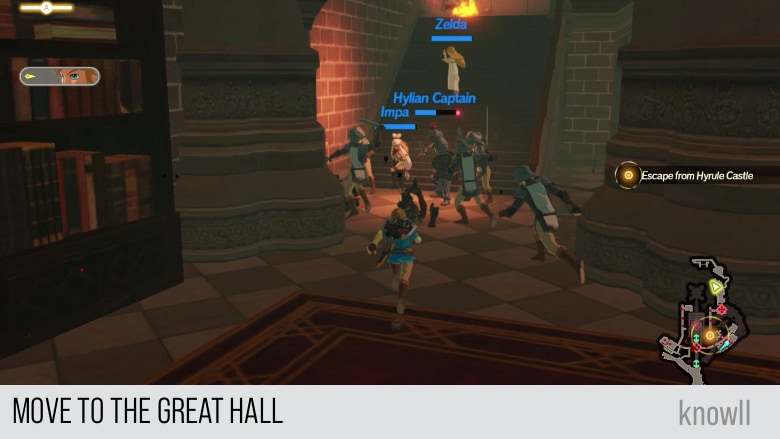
Zelda: First through the library, and then to the great hall. From there, we should head for the main gates.
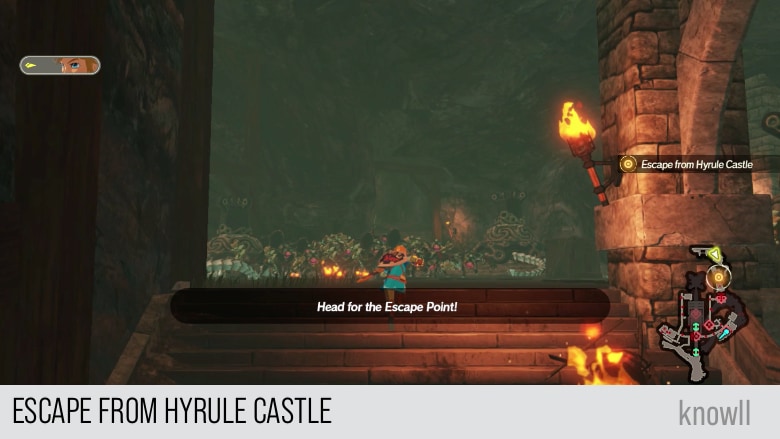
Objective: Escape from Hyrule Castle
Follow the target position to exit the castle. You will be facing various enemies soon.
Impa: The Guardians here aren't running rampant... yet.
Impa: We must leave before they activate!
Move forward, and you will meet the first Guardian waiting for you.
Objective: Defeat the Guardian
The Guardian is near the entrance of the library. Go ahead and defeat it.
Zelda: Another Guardian. We'll need to defeat it to move forward.

Another Guardian will appear after the first one. Defeat it as well.
After defeating the second Guardian, your escape can progress.
Zelda: Through that door, on to the great hall. Let us be swift!
Note that this is the only way forward, as all the other paths are blocked.
Once you reach the next hall...
The Guardians at the docks have activated!
Impa: No! The Guardians have activated. If we don't do something, they'll attack from both sides.
Zelda: Impa, stay calm. We'll be fine. Let's advance carefully and watch our backs.
From this hall onwards, you will only face stronger enemies. You will meet Silver Moblins, Silver Lizalfos, Silver Bokoblins, and a Guardian Scout.
Once you reach the great hall, you will meet the first White-Maned Lynel in the whole game. We have covered the moveset and attacks of a Lynel in Mipha, the Zora Princess. You can view our Enemies Guide for more tips on Lynels.
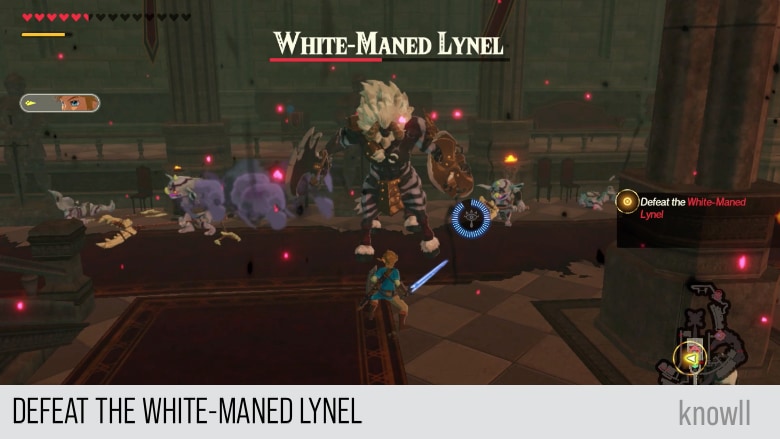
After defeating the Lynel, the quest will progress and you can move to the next target position.
Impa: We did it! Just a little farther and we're out. Please, hurry.
A large number of Guardians have appeared within the Castle!
Zelda: We haven't the time for this. Head for the exit!
The final target area is very near. Go for it.
Impa: We made it, somehow. Still, I can't believe the Guardians have turned on us...
Zelda: I never imagined this would happen... We must hurry to my father.
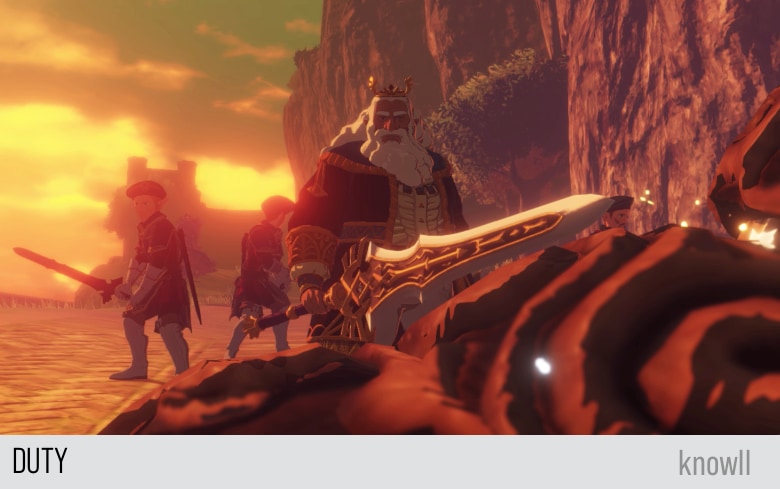
Duty
The Guardians, now under the control of Calamity Ganon, begin to attack Zelda, Link, and the others. Just as one has the princess and her protector in its sights, King Rhoam arrives to save them. The king reminds Link of his duty to the princess then remains behind as the pair flee the castle.
Zelda: Father?!
King Rhoam: Go, now!
King Rhoam: You are the knight to Princess Zelda. I trust that you understand your duty.
Link takes Zelda away upon hearing this.
Zelda: But, Father! Stop! Let go!
King Rhoam: My daughter... protect her.
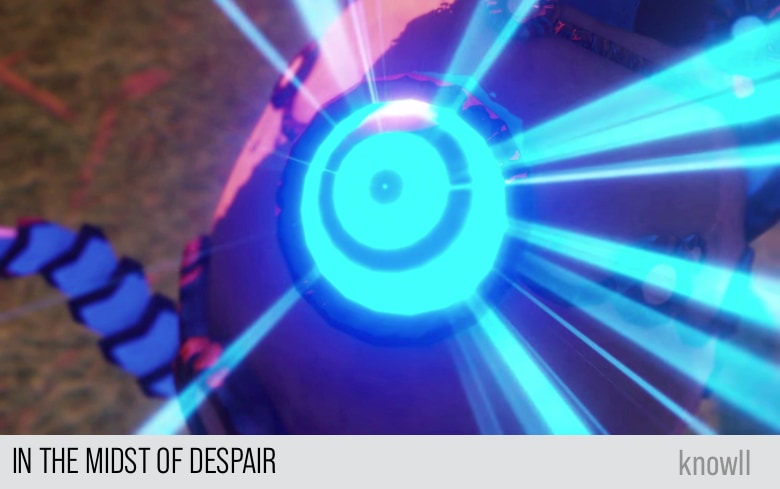
In the Midst of Despair
Based on information from the little Guardian, Zelda learns that the Divine Beasts will also be taken over by Calamity Ganon. Frustrated by her own powerlessness, Zelda cries out in anguish. As her tears fall, the Guardian suddenly emits a strange light...
Impa: The Divine Beasts... Ganon has...
Zelda: I have... failed...
Zelda: All of Hyrule... my friends... even my own father... It's my fault!
Zelda: Why won't it awaken for me?!
The little Guardian starts playing its song.
Zelda: Everything... Everything I've done... Ultimately... all of it was for naught!
A tear falls on the little Guardian and it teleported them to a place where Vah Medoh is visible.
Impa: Look up!
Zelda: Can we... still do this?
Impa: All is not lost. We can still do something! Come on!
Korok Locations
Every Chapter in the game contains Koroks. The main challenge is that there is no feature in the game that will make them appear on the map.
Hence, we provide all their locations on the area as well as on the map.
Total Koroks: 7
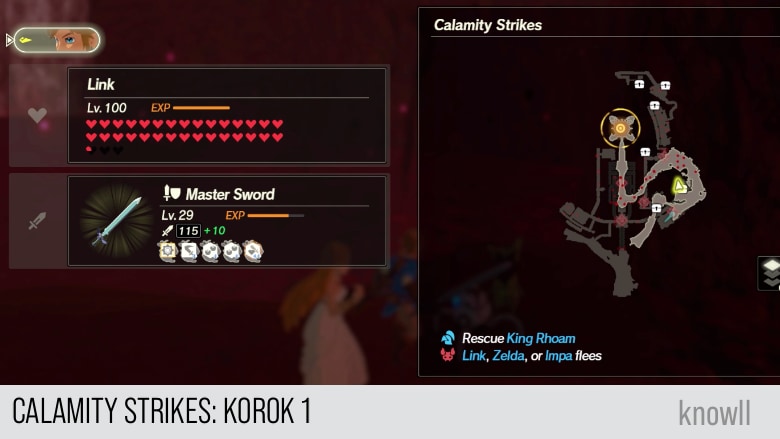
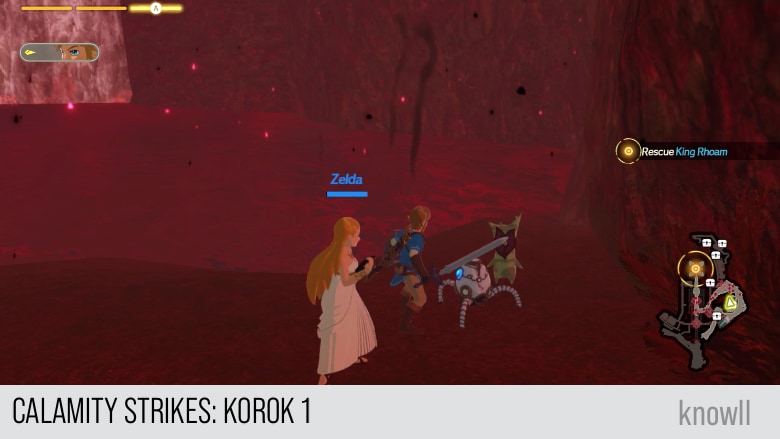
Calamity Strikes Korok 1
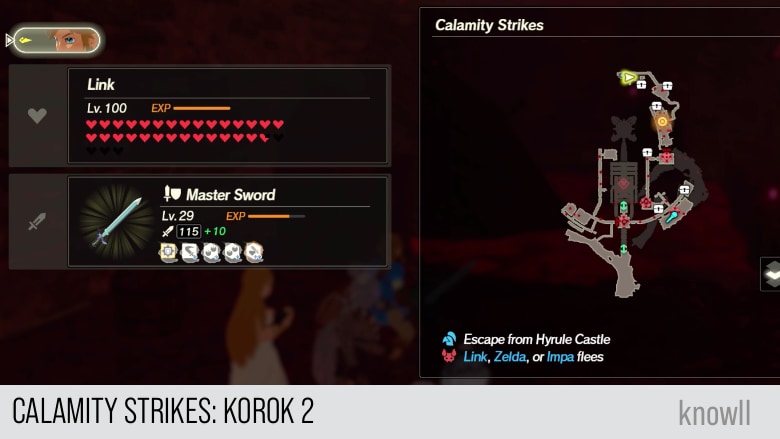
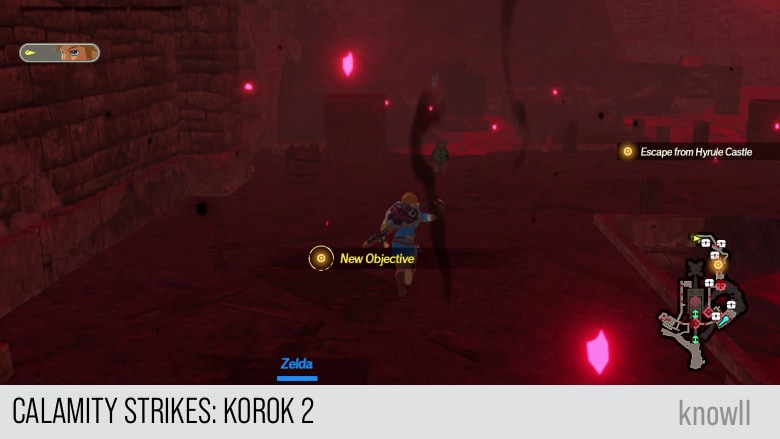
Calamity Strikes Korok 2
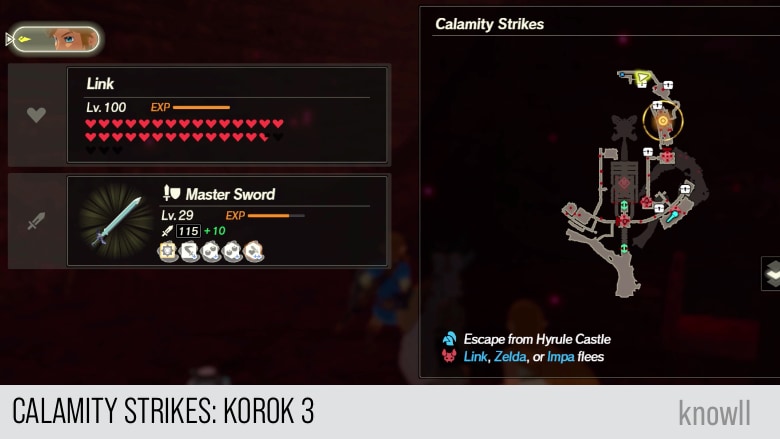
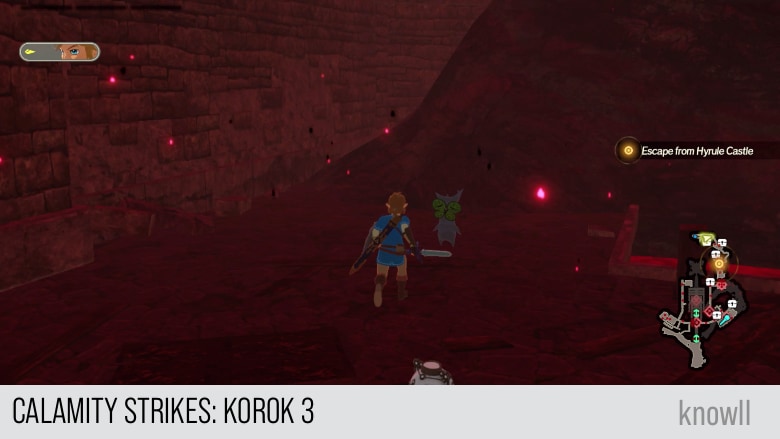
Calamity Strikes Korok 3
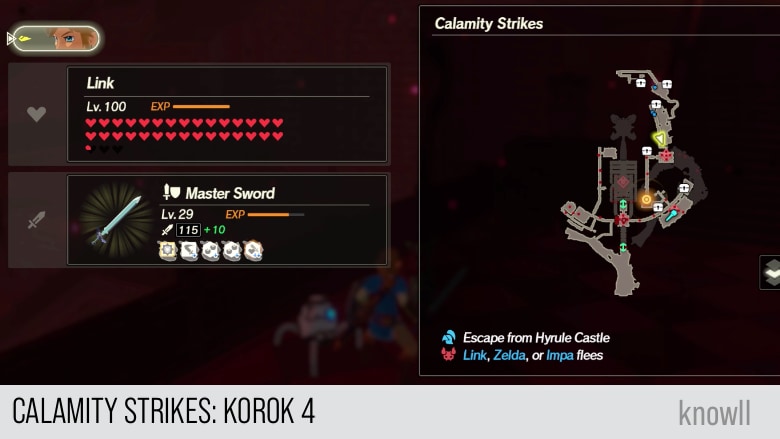
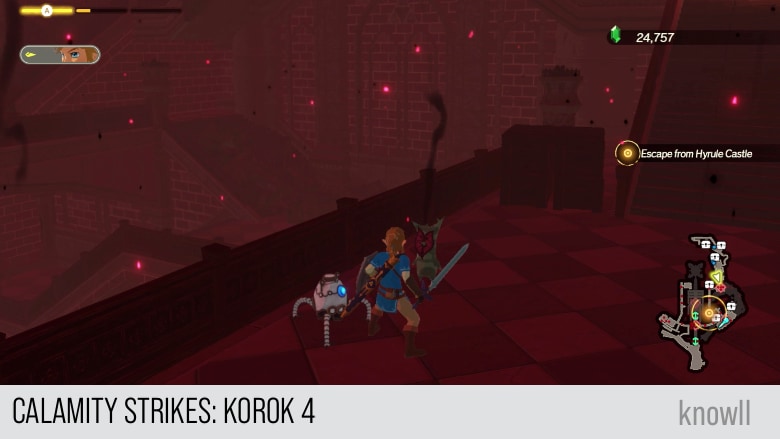
Calamity Strikes Korok 4
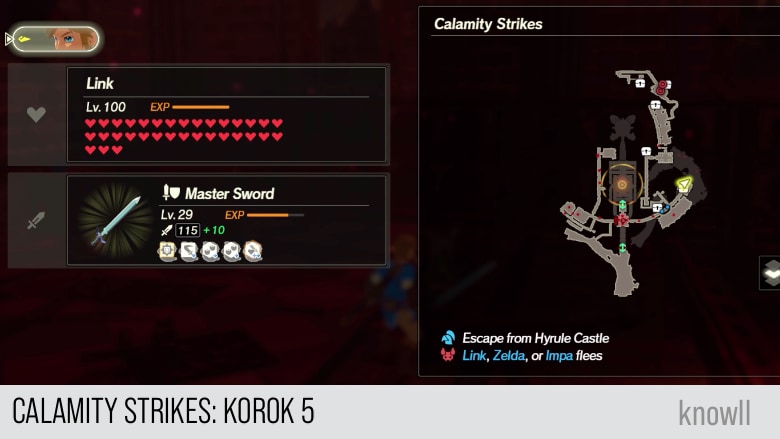
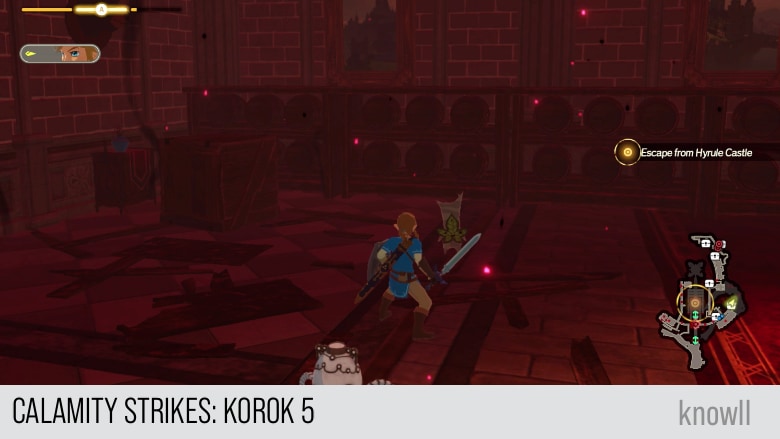
Calamity Strikes Korok 5
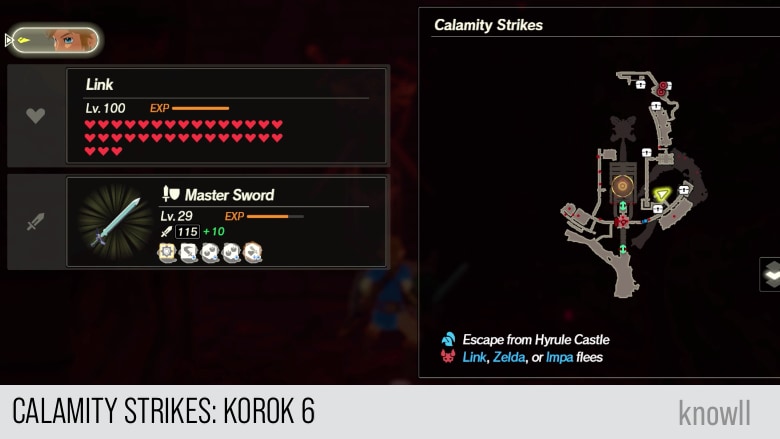
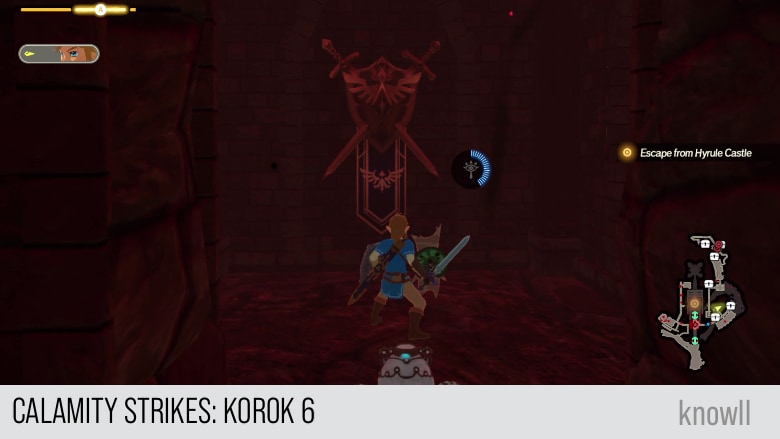
Calamity Strikes Korok 6
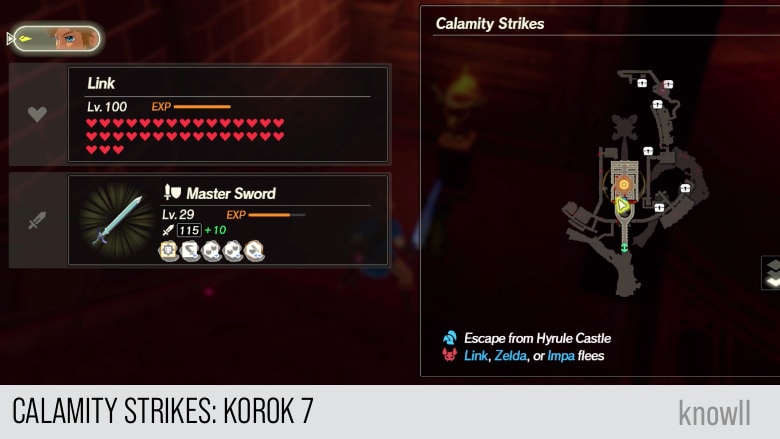
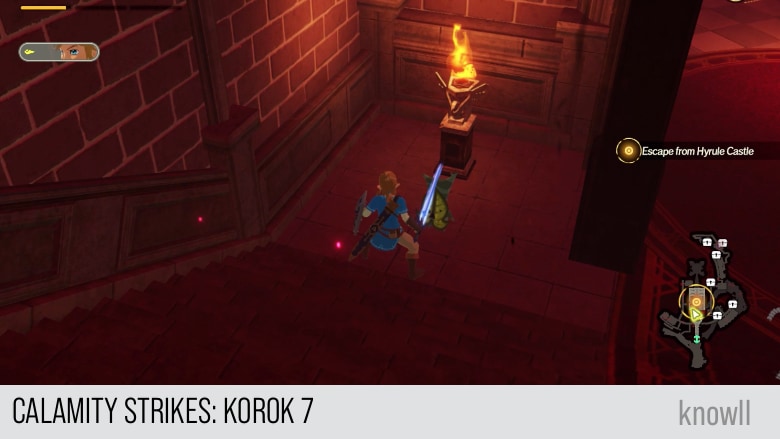
Calamity Strikes Korok 7
Continue the adventure with our next Chapter entry Water and Fire.